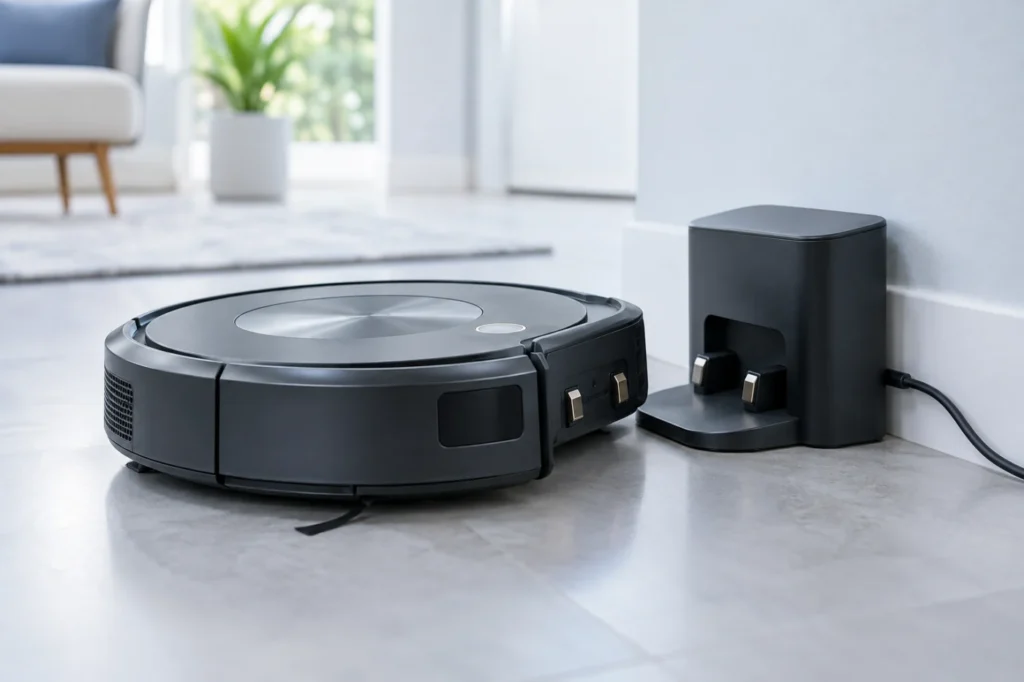
Begin with the quick checks. Stop if a step requires tools or experience you do not have.
Quick answer: If your Roomba j7 sits on its Home Base or Clean Base but does not gain charge, check base power and the position of the robot first. Unplug the base, clean both sets of metal charging contacts with a lightly dampened melamine pad or cloth, let them dry, then seat the robot so the contacts meet. Read any charging error in the iRobot HOME app before considering a replacement battery.
Not sure which check to try next?
Follow guided questions and report what changes after each check.
Start step-by-step diagnosisA docked robot is not necessarily charging. Poor contact can leave the battery indicator unchanged or even allow the charge to fall. The j7 and j7+ may use different compatible bases, but the external checks below apply to both. Stop if the cord is damaged, a contact is burned or stuck down, liquid has entered the base, or the robot becomes unusually hot.
Start with the symptom, not the battery
| What you see | First check |
|---|---|
| No response from the base or robot | Working outlet, power cord and base connection |
| Charging starts only when you move the robot | Contact surfaces, seating and level floor |
| The app shows a charging icon but the level stays low | Contacts, local app connection and a timed recheck |
| A charging error appears | Use the exact error number to select the next check |
| A contact is recessed, discolored or damaged | Stop testing and contact iRobot support |
1. Confirm power reaches the base
Test the wall outlet with another small device. Push the power cord fully into the base and wall outlet; try a known working outlet if needed. Do not use a cord that is cut, crushed or unusually hot. iRobot’s charging-error guidance starts with these cord connections. If you have a Clean Base, iRobot says to check for its red light beneath the lid when diagnosing charging errors 4 or 5. Do not assume that a base indicator must stay lit continuously while the robot charges.
2. Align the j7 on a level base
Place the base flat against a wall on a level floor, clear of rug edges and loose cables. Set the robot on it so the metal contacts under the j7 meet the matching contacts on the base. iRobot’s j7 setup guide makes that alignment explicit. If the base slides as the robot enters, stabilize its location before testing again.
If you must press or shift the robot to make charging start, inspect the contacts next. Clear hair from the front caster and wheel wells if debris keeps the robot from resting evenly; clean only accessible parts and reinstall the caster securely.
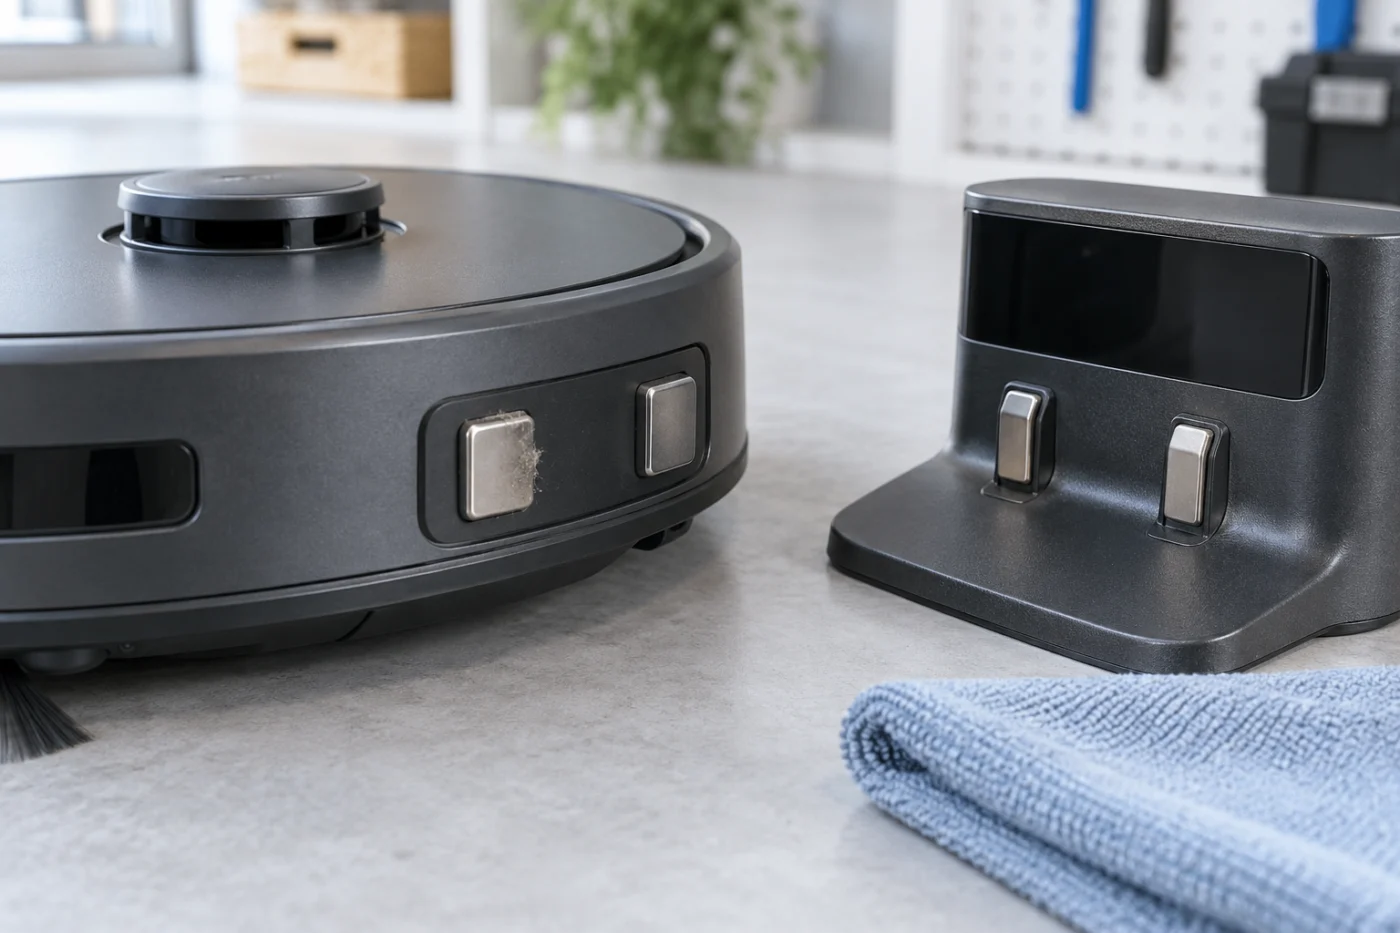
3. Clean both sets of charging contacts
- Take the robot off the base. Unplug the base and wait about 60 seconds.
- Inspect the two metal contacts on the robot and the matching contacts on the base.
- Use a clean, lightly dampened melamine pad or cloth to remove residue, as iRobot recommends. Do not spray cleaner onto the robot or base.
- Let the surfaces dry, reconnect the base and place the j7 squarely on it.
The metal should look clean rather than coated with debris. Do not scrape it with a blade or sandpaper. iRobot warns that green or copper-colored contacts, or contacts stuck down, can indicate damage requiring service or replacement of the affected robot or base.
4. Read the exact charging error
The app can narrow the problem more reliably than guessing from a light:
- Charging Error 4 or 5: iRobot says current is not reaching the robot; check the cord and contacts. This is different from a cleaning Error 5 about a side wheel.
- Charging Error 6 or 7: the battery is too hot or too cold to charge. Move the robot to a normal indoor temperature and let it acclimate without heating it artificially.
- Charging Error 21: the robot is on the base but losing charge. iRobot identifies contact maintenance as the first check.
For a battery communication error or a persistent error after contact cleaning, follow iRobot’s instruction for that exact number or contact support. Do not buy a battery solely because the app percentage is low.
5. Check whether the charge is really changing
View the iRobot HOME app while your phone is on the same local network as the robot. iRobot says a remote connection can delay the battery indication and recommends waiting 15 minutes before reopening the app when the level does not appear to rise. Note the initial level, leave the robot correctly seated on the powered base, then check again. If it is already full, a percentage increase is not possible; if the robot is offline, the displayed value may be stale.
6. Reboot if the connection is sound
If base power and contacts are sound but the charging status remains inconsistent, use Product Settings → Reboot Roomba in the classic iRobot HOME app. iRobot also describes a manual reboot off the dock by holding CLEAN until the reboot cue; its current table lists about nine seconds for the j series. Wait for the reboot to finish, then return the robot to the base. A reboot preserves maps and schedules. Do not choose Factory Reset as an early charging test.
When to stop
Contact iRobot if a contact is damaged, the cable or base is unsafe, a charging error persists after the matching external checks, or the robot still loses charge on a verified powered base. Have the exact error, serial number and purchase information ready. A battery, base or internal charging fault may need model-specific diagnosis; the external checks do not prove which part failed.
For a different j7 movement symptom, see Roomba j7 spinning in circles. Browse other models in the Roomba troubleshooting hub. This guide follows iRobot’s instructions for j7 base setup, charging contacts and Error 21, Charging Errors 4 and 5, battery indication in the app, and rebooting. RoboFixGuide is independent of iRobot.
If the j7 has no button, light or sound response, use the j7 won’t turn on guide to separate an unresponsive robot from a charging-status problem.
Check replacement battery compatibility first
A charging problem does not by itself identify a failed battery. Complete the external checks above; if the manufacturer recommends a replacement, match the exact model and official item number.