Begin with the quick checks. Stop if a step requires tools or experience you do not have.
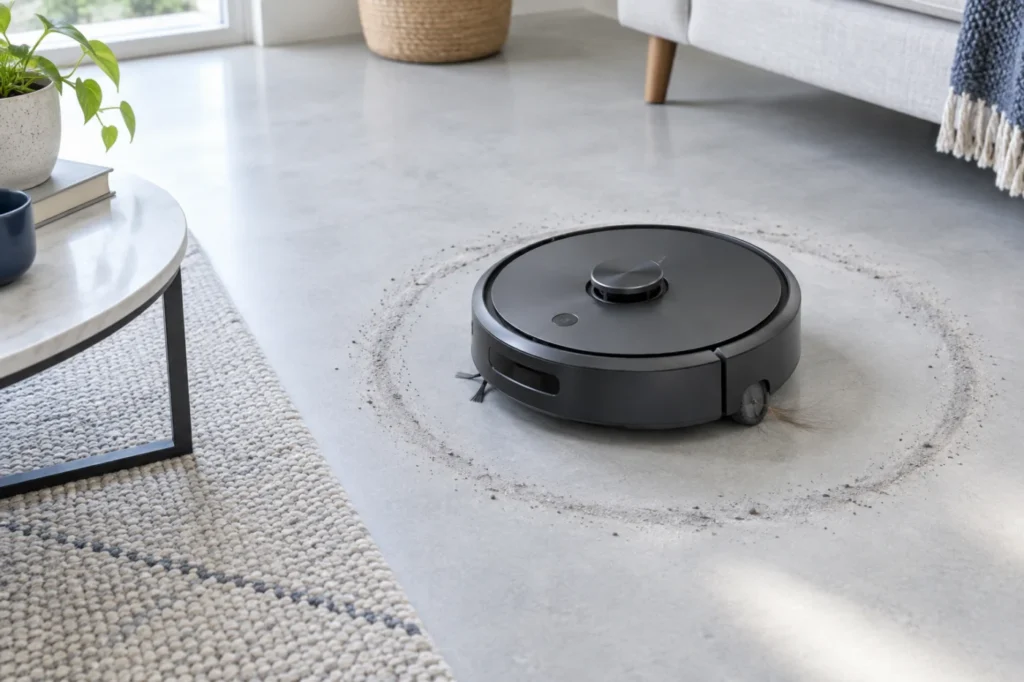
Quick answer: If a Roomba j7 repeatedly turns in a small circle, watch one attempt on a clear, level floor and check the iRobot HOME app for an error. Compare the two drive wheels before changing the map: iRobot links a wheel that cannot turn to Error 5. If the robot stops, backs away and turns again, inspect the bumper and cliff sensors as well. A reboot can clear a temporary error, but it will not remove hair from a wheel.
Not sure which check to try next?
Follow guided questions and report what changes after each check.
Start step-by-step diagnosisRecord which way it turns, whether it travels any straight distance, and whether the same behavior happens in another well-lit area. These observations are more useful than replacing parts based only on the circular path. The turning direction alone does not identify a failed wheel.
First, read the behavior
| What you observe | Useful next check |
|---|---|
| Repeated circling in every open area, possibly with a wheel error | Compare both side wheels and clear debris from their wells |
| It turns away, backs up or reports a bumper error | Check that the bumper moves and returns evenly |
| It hesitates near dark flooring, a drop or a floor transition | Clean the cliff sensors and retest on a plain, level floor |
| It moves normally in a well-lit test area but struggles in one room | Check lighting, floor obstacles and the camera area before changing the map |
1. Give it a controlled test area
Choose a clear, dry, level section of hard floor away from stairs and loose cords. Use normal room lighting; iRobot notes that camera-based j-series navigation needs sufficient light. Start a short job and watch its first minute. Note whether the robot circles continuously or briefly turns around an obstacle and then travels normally. Move it to a second safe area if the result is unclear.
Do not delete the map yet. If it spins in both test areas, a wheel, bumper or sensor check is more useful. A map issue becomes more plausible only when the robot moves normally elsewhere and fails in one mapped location.
2. Compare the two drive wheels
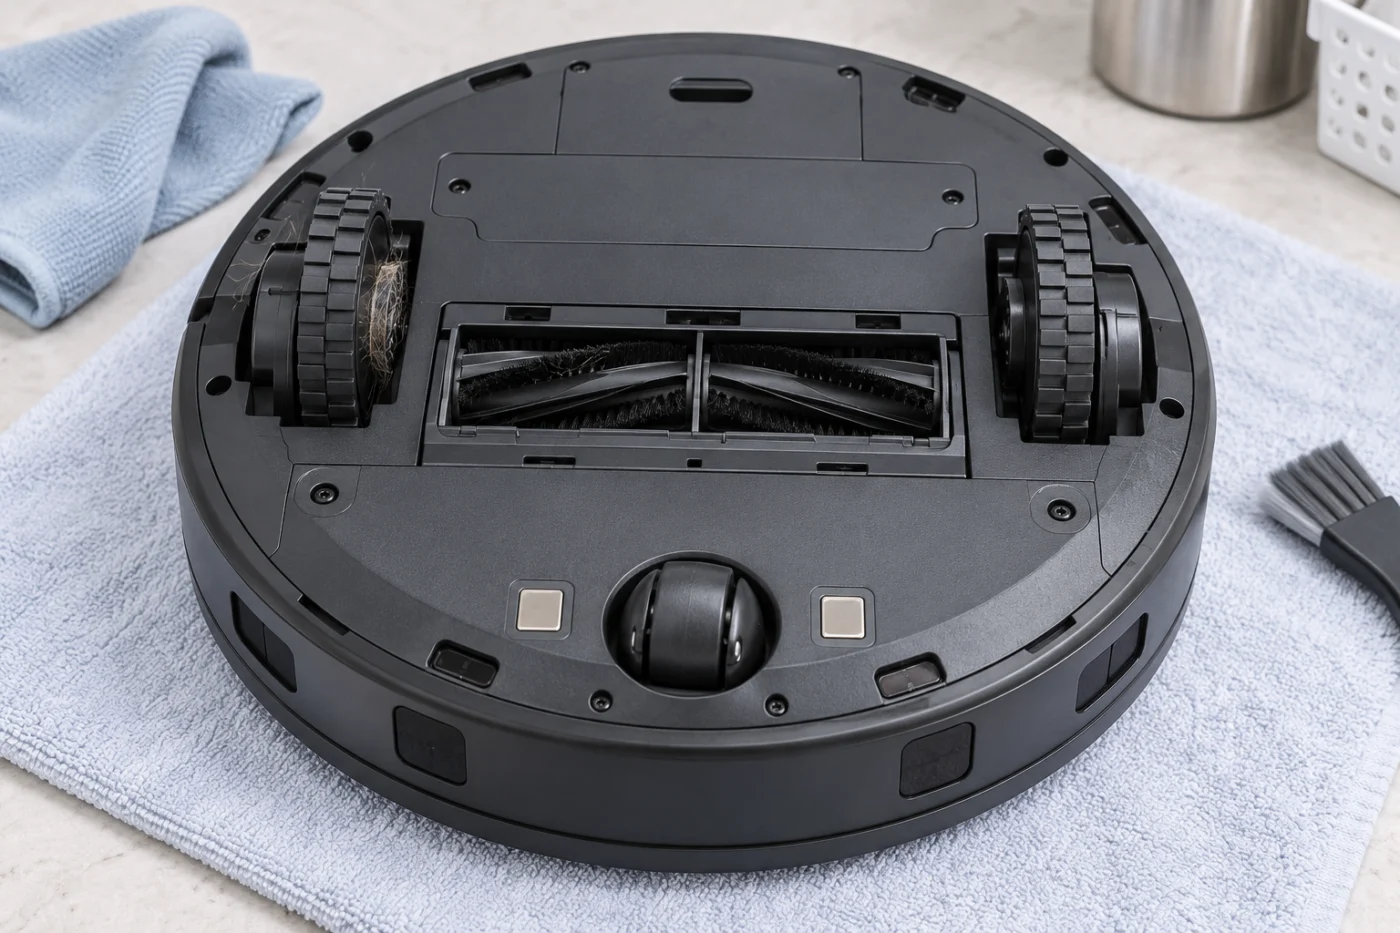
Pause the job and place the robot upside down on a soft towel. Press each large side wheel gently up into its well and release it several times. Both should return and feel broadly similar. Turn each by hand and compare resistance; do not force a wheel that binds.
iRobot’s Error 5 guidance says to push the wheels up and down, shake out loose debris and turn both by hand to check that they move freely with similar resistance. Remove visible hair and thread around the wheel openings with your fingers or a soft tool. Do not pour water, oil or spray cleaner into the wheel modules. If one wheel cannot turn or Error 5 continues on an unobstructed flat floor, iRobot says a replacement wheel module may be needed.
3. Clean the front caster
The small front wheel should roll and swivel without packed hair. iRobot’s j-series maintenance guide says the caster can be pulled out for cleaning: clear its cavity and, if its rotation is restricted, clean the wheel and axle before reinstalling it until it clicks into place. Keep the removed pieces together and do not force the plastic housing. Then run another short floor test.
4. Check the bumper if it acts like an obstacle is ahead
Press the front bumper gently at the left, center and right, releasing each time. It should move and return without one side remaining stuck. Remove only loose debris you can reach around its outer gap.
If the app reports Error 9 or 16, iRobot says a bumper that stays out of position may be dislodged. Its j7-specific procedure involves removing the lower cover; if you are not comfortable doing that, stop at the external inspection and use iRobot service. Do not bend or strike the bumper in an attempt to free it.
5. Wipe the sensors and inspect the camera area
Use a clean, dry microfiber or soft cotton cloth on the cliff-sensor windows around the underside. iRobot specifies a dry cloth for j-series cliff sensors. Do not spray water or cleaner into an opening. Clear visible dust from the front camera cover with a soft cloth and retest with the lights on. A dark room can confuse visual navigation, but lighting is not an explanation for a wheel that physically binds.
6. Reboot without erasing the map
If the mechanical checks look normal and the problem persists, try a reboot. In the classic iRobot HOME app, open Product Settings → Reboot Roomba. iRobot also provides a manual method with the robot off its dock: hold CLEAN until the reboot cue. Its current reboot table lists about nine seconds for the j series. Allow the reboot to finish before testing again, and follow the app’s instructions if its screens differ. A reboot retains maps and schedules; a factory reset does not.
When to arrange service
Stop testing if a wheel grinds, does not spring back, cannot turn by hand, or the robot repeatedly reports a wheel or bumper error after accessible cleaning. Take a short video showing the behavior on a clear floor and save the exact app message. iRobot can use that evidence to assess a wheel module, bumper or another component. Do not open a wheel motor or replace the navigation camera based only on circling.
If the j7 also fails to charge, use the separate Roomba j7 charging guide. For other symptoms, browse the Roomba troubleshooting hub. The checks above follow iRobot’s guidance for Error 5 and side wheels, j-series maintenance, j7 bumper faults, and rebooting. RoboFixGuide is independent of iRobot.